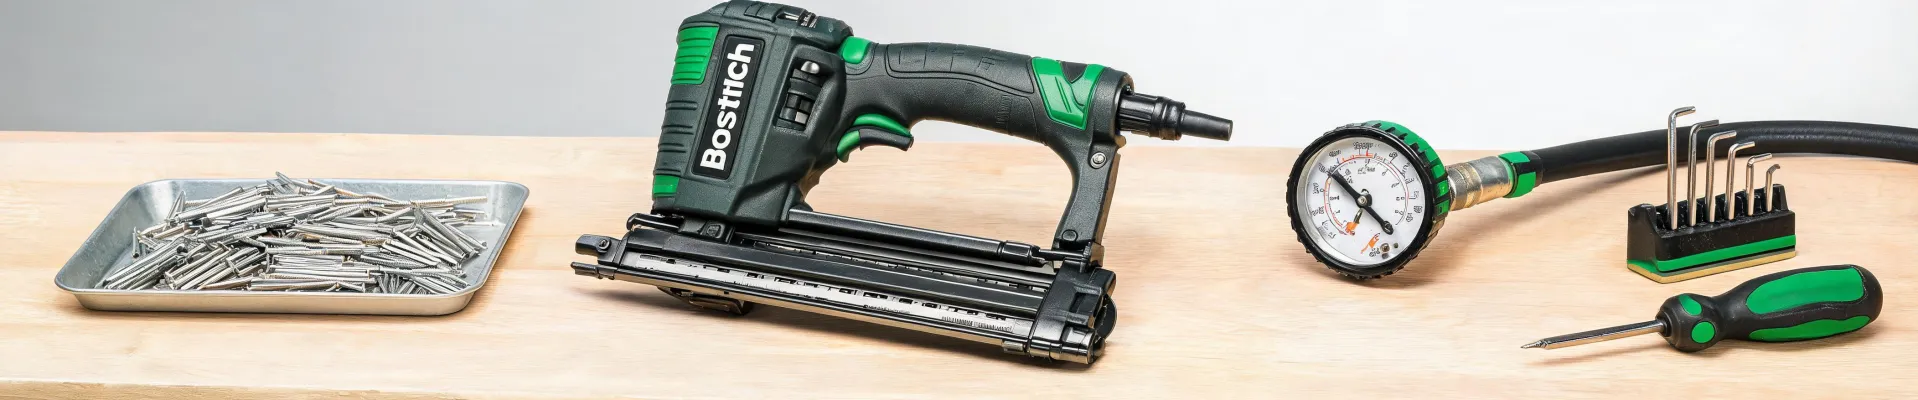
There isn't one clean answer to 'should I fix it?' That's the first thing I tell anybody who emails about Bostitch nail gun repair, Bostitch air compressor price questions, or even a plumbing side-project like 'can you rebuild a gate valve?' The answer depends on your volume, your skill level, and how much downtime actually hurts you.
I'm a field service tech who has handled Bostitch and general fastening-tool repair for about 11 years. I've personally made and documented, since 2017, maybe 14 significant repair mistakes. Maybe 18 if you count the ones I fixed before anyone noticed. Roughly $3,700 in wasted budget and a few very awkward customer emails. That's why I keep a checklist. This article is that checklist, minus the coffee stains.
Start With Your Scenario
In my shop, I sort most repair questions into three buckets. The bucket matters more than the brand or the symptom.
- Weekend / low-hour user. You own the tool, but it doesn't own a schedule. Your time is real, but it's flexible.
- Working tradesperson. The tool is income. If it's down, the job slows down.
- Shop or fleet manager. You have multiple tools, a maintenance routine, and a bigger picture to protect.
This isn't a personality test. It's a downtime and labor calculation.
Bostitch Nail Gun Repair: The Scenario Split
Bostitch nail gun repair usually starts with the same leak: air escaping from the trigger, the nose, or the cap. But the right move changes with your bucket.
Scenario A: The Low-Hour User
If your nailer sits in a garage and gets used twice a month, try the $15-$25 rebuild kit first. The common fix is a new driver guide bumper, o-rings, and maybe a cap gasket. If that doesn't stop the leak, stop there. A replacement nailer will usually beat paying an hour of shop labor.
Scenario B: The Working Tradesperson
This is where professional Bostitch nail gun repair pays for itself. I verify every part number against Bostitch's illustrated parts breakdown before ordering. (Not that this makes me patient—it just stops me from ordering the wrong seal.) The rebuild kit is cheap; the labor is the expensive part. And if you're doing this yourself, bench-test it before it goes into the truck. I knew I should pressure-test at 90 psi before handing one back, but I thought 'what are the odds?' The odds caught up with me when the nailer locked up on a customer's trim job. That was a two-hour lesson.
Scenario C: The Old Iron in the Corner
If the parts diagram shows a part number that's no longer available, don't fall in love. I've rebuilt nailers that I should have replaced, and the 'one more part' path is how a $30 repair turns into a $180 ordeal. At least, that's been my experience with 15-year-old Bostitch models.
Bostitch Air Compressor Price: The Real Number
The Bostitch air compressor price is the most misunderstood part of the equation. As of spring 2026, I keep seeing small Bostitch pancake compressors in the $130-$180 range and larger portables around $250-$400, depending on the retailer and tank size. Don't hold me to this; prices bounce around. The number that matters is total cost over the next three years.
Total cost includes sales tax, shipping, a longer extension cord, the regulator you add, the hose that doesn't leak, the maintenance kit, and the cost of the job when a pump dies mid-run. (Think: overtime, an angry customer, or a 6 AM drive to the supply house.) If you ask me, comparing compressor prices without comparing repair-part availability is how people buy the same compressor twice.
A pancake compressor is fine for occasional finish work. But for a crew running framing nailers, a larger tank and a quieter pump are part of the cost, not an upgrade. The cheapest option often ends up costing more in overtime and frustration. (Surprise, surprise.)
Never expected a $3.50 unloader valve to fix a $400 noise complaint. Turns out the problem wasn't the pump—it was a leaking check valve that made the compressor restart under load. That's the kind of issue a parts diagram and a phone call can solve, if the brand publishes parts support. Bostitch does.
Electric Hammer Drill: Right-Size It
Now the non-Bostitch questions. Every few months, someone asks whether they should buy a bigger electric hammer drill. My answer depends on what exactly they're drilling. For occasional masonry anchors, a standard hammer drill function usually does it, provided you use a carbide-tipped bit and don't lean on the tool. For 3/4-inch holes in a foundation, you need an SDS rotary hammer, not just an electric hammer drill. A corded SDS unit with a decent bit will last longer, cut faster, and be easier on your hands than forcing a regular drill. I'd rather rent one for a week than buy the wrong tool and hate every hole. At least, that's been my experience with cheap imports and big concrete slabs.
Pliers Mini Set: The Repair Kit I Underrated
For field repairs, I pack a pliers mini set instead of a giant tool roll. This wasn't a big strategic decision; it started after I got tired of carrying a 40-pound bag up ladders. (Not that I was ever graceful with it.) A 4-inch needle nose, a small diagonal cutter, and a slip-joint pliers cover most of the physical work in a pneumatic nailer disassembly. The same mini set works for replacing a pressure switch on a compressor. I should note this applies to bench repairs too—small pliers fit between the driver guide and the trigger housing without crushing a fitting. Don't hold me to this, but you can buy one for around $15 to $25. It beats a full 20-piece set for 90% of the jobs I do.
Can You Rebuild a Gate Valve? Yes, but Check This First
Can you rebuild a gate valve? Yes, in most cases. But the real question is whether you should.
I rebuilt a 2-inch gate valve last spring because the packing nut was leaking. 'Just needs packing,' I told myself. Turns out the seat was pitted badly enough that the valve wouldn't close all the way. What should have been a 30-minute fix turned into a full disassembly, a new seat, and a very late lunch. That's the classic mistake: assuming the easy symptom is the only problem.
Scenario 1: If it's a household shut-off valve that you use twice a year, replace it. A new brass gate valve is cheaper than the rebuild kit plus your Saturday afternoon.
Scenario 2: If it's a 3-inch gate valve in a plant with a tight shutdown window, rebuilding in place is often the right call—if you can get the gasket kit and torque specs first. The cost of the valve assembly? Significant. The cost of being down an extra day? Worse.
Scenario 3: If the stem is stripped, the body is corroded, or the wedge looks like a cheap coin, don't rebuild it. You'll be back in the same pit in 18 months, minus the money and patience.
How to Tell Which Scenario You're In
If you're still unsure, do the math with actual numbers. I don't mean a spreadsheet. I mean a back-of-envelope check:
- What does one unplanned hour cost you? If you don't know, use $50 and adjust later.
- How many times per month does the tool or valve get used?
- What's the repair kit price plus shipping, and how long will the part sit on a shelf?
- What's the replacement price, including disposal and re-installation?
Compare those numbers over the next three years. The answer usually shows up in the total, not in the sticker price. That's the TCO way to look at a Bostitch nail gun, an air compressor, a hammer drill, a mini pliers set, or a gate valve rebuild. It doesn't make every decision easy, but it does make the expensive ones less personal.

Leave a Reply