-
Who this checklist is for
-
The 7-step fastening tool checklist
-
1. Map the build type before you price anything
-
2. Match the tool system to the crew, not the catalog
-
3. Calculate air demand for the whole crew
-
4. Standardize fasteners, gauges, and angles
-
5. Buy for service and parts, not just sticker price
-
6. Pilot the kit on one small module or pod
-
7. Put invoicing, warranty, training, and corrosion specs in the PO
-
1. Map the build type before you price anything
-
Common mistakes and notes
Who this checklist is for
I am an office administrator for a 140-person construction services company. I manage all tool and hardware ordering—roughly $180,000 annually across 14 vendors. I report to both operations and finance. When I took over purchasing in 2021, I assumed fastening tools were just a line item. Then we started building more tiny home mobile homes, little portable houses, and a glamping pod for garden clients. I learned the hard way that the tool kit can make or break the finish schedule.
This checklist is for B2B teams ordering fastening tools for small-structure builds. That includes contractors building portable building house units, garden offices, and glamping accommodations. If your crew also supports a glamping break with hot tub setup or luxury pods Lake District installs, the same rules apply, just with more attention to moisture and finish quality.
There are 7 steps. You can use them as a request-for-quote checklist or a pre-project audit.
The 7-step fastening tool checklist
1. Map the build type before you price anything
Do not start with tools. Start with the fastening schedule. Tiny home mobile homes, portable building house modules, and glamping pods use different substrates and finishes. Framing, sheathing, trim. In that order.
For a glamping pod for garden, you may need framing nails, sheathing staples, finish nails for interior paneling, and narrow crown staples for cabinet backs. For a glamping break with hot tub, add exterior trim, decking, and corrosion-resistant fasteners. For luxury pods Lake District projects, moisture and temperature swings are real. Write it down in a one-page table: substrate, fastener type, tool type, quantity.
Most people skip this step. Why does that matter? Because a tool that runs 15-gauge finish nails will not save you if the spec calls for 18-gauge brads on cedar trim.
2. Match the tool system to the crew, not the catalog
Pneumatic or cordless? That is the first fork. In a shop building panelized little portable houses, pneumatic nailers and staplers with a good air compressor are usually efficient. On site, cordless nailers reduce hose drag and setup time.
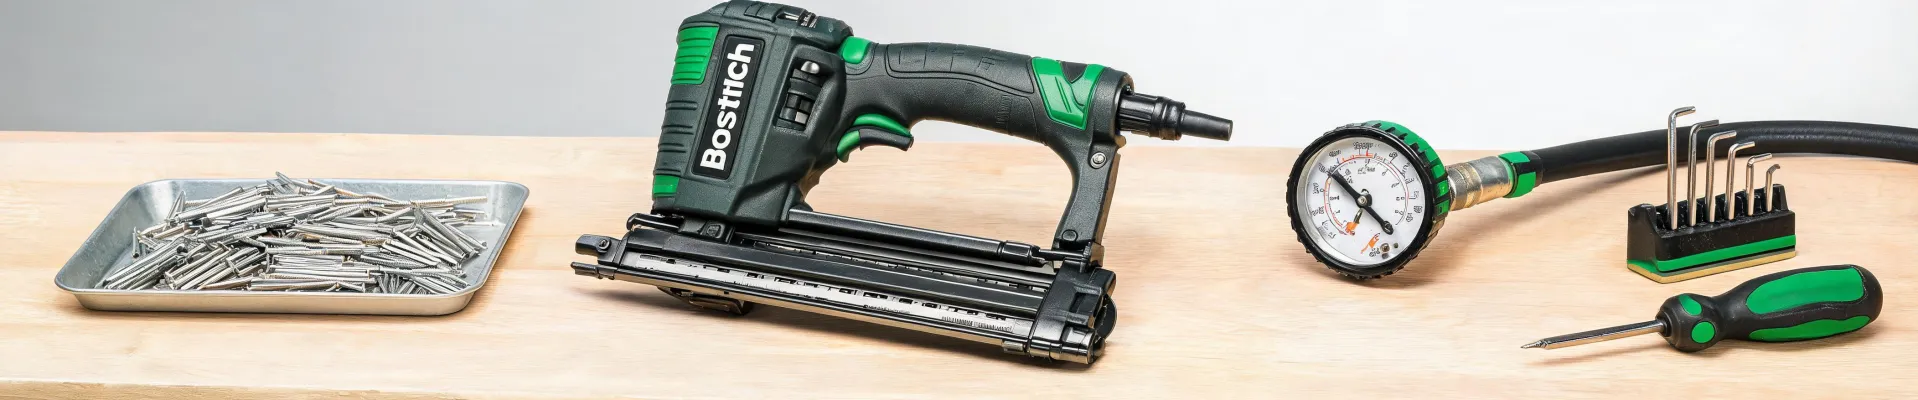
Bostitch makes professional-grade pneumatic and cordless nail guns, staplers, and air compressors. The advantage of a system is compatibility—nailer, compressor, fittings, and fasteners designed to work together. But compatibility is not automatic across every product. Check the manual. I am not 100% sure every crew member will read it, so put the key specs on the PO.
Look at CFM at 90 psi, tank size, recovery time, and tool air consumption. A compressor that keeps up with one finish nailer may starve when two crews run framing nailers and a stapler at once.
3. Calculate air demand for the whole crew
This is the step finance often misses. One nailer’s air consumption is not the number. Add the tools that will run simultaneously. Two framing nailers, one stapler, one finish nailer. Then add a buffer—20% to 30% is not unreasonable.
For a glamping pod for garden production line, maybe you run one stapler and two trim nailers. For a portable building house, you might run a framing nailer and a sheathing stapler. The compressor has to recover fast enough to avoid pressure drop. Pressure drop means weak drives, proud nail heads, and callbacks.
Check hose length and fittings, too. A 100-foot 1/4-inch hose can cost you pressure at the tool. Upgrading to 3/8-inch hose sometimes fixes more problems than buying a bigger compressor.
4. Standardize fasteners, gauges, and angles
Standardization saves money and confusion. Pick a small set: 21-degree framing nails, 15- or 16-gauge finish nails, 18-gauge brads, narrow crown staples, and maybe a wider crown staple for insulation or house wrap. Then verify local availability.
Here is the mistake I made in 2022: we bought a great deal on a nailer that used a fastener only one online supplier stocked. When that supplier went on backorder, our little portable houses sat. Now I check fastener availability before I check the tool price.
Also check angle and gauge. A 21-degree framing nailer and a 30-degree framing nailer are not interchangeable. If your crews work on multiple sites, mismatched fasteners create downtime and waste.
5. Buy for service and parts, not just sticker price
When I first started ordering fastening tools, I assumed the lowest-priced combo was the smart choice. Three budget overruns later, I learned about total cost of ownership. A $180 driver blade replacement is nothing compared with a two-day delay on a luxury pods Lake District install.
Ask three questions before you buy: Are replacement parts available? Is there a parts diagram? What is the turnaround time? Bostitch has a strong repair, parts, and service support angle, and that matters when a nailer goes down mid-project. Do not assume every vendor stocks wear parts. Verify.
To be fair, budgets are real. I get why a cheaper kit looks attractive. But downtime has a cost, and so does a poor finish on a high-end pod.
6. Pilot the kit on one small module or pod
Do not roll out 20 new nailers across five crews without a pilot. Pick one glamping pod for garden unit or one portable building house module. Run the tools for a week. Track jams, weight, balance, trigger feel, noise, and compressor recovery.
Involve the lead installer. Finance does not know trigger feel, and honestly, neither did I until I stood on a job site for an afternoon. The crew will tell you what the catalog cannot.
This is where experience overrides conventional wisdom. Everything I’d read said get the biggest compressor possible. In practice, for our panelized little portable houses, a properly sized portable unit with fast recovery beat a huge tank that nobody wanted to move.
7. Put invoicing, warranty, training, and corrosion specs in the PO
This is the admin buyer’s step. I once found a great price from a new vendor—$2,400 cheaper than our regular supplier. They could not provide a proper invoice, only a handwritten receipt. Finance rejected the expense report. I ate the cost out of the department budget. Now I verify invoicing capability before placing any order.
Your PO should require serial numbers, warranty documents, a parts list, and training for new crew members. For a glamping break with hot tub, specify corrosion-resistant fasteners and stainless options where moisture sits. For luxury pods Lake District, document the exterior fastener spec so sales and production agree on what “luxury” actually means.
And watch your marketing claims. Per FTC advertising guidelines (ftc.gov/business-guidance/advertising-marketing), claims must be truthful and not misleading, and must be substantiated with evidence. If you advertise a portable building house as eco-friendly or a pod as luxury, be ready to back it up.
Common mistakes and notes
Do not buy one giant compressor for all crews unless you understand pressure drop and hose runs. Do not assume one nail gun does everything. Do not let unit price be the only metric. Do not ignore moisture when building a glamping pod for garden or a glamping break with hot tub. Do not skip PPE and training—fastening tools are safe when used correctly, not when used casually.
From the outside, a glamping pod or tiny home mobile homes project looks like a design decision. The reality is that fastening quality decides whether it feels premium or amateur. People think expensive tools create premium pods. Actually, crews who care about finish quality demand better tools and processes. The causation runs the other way.
So build your checklist around the build type, the air system, the fasteners, the parts support, and the pilot. That is how you protect the schedule, the budget, and the brand image your clients see when they step into a luxury pod or a little portable house for the first time.

Leave a Reply