-
Is the Bostitch F21PL framing nail gun still worth buying?
-
Will my existing compressor work with the F21PL?
-
What should be in a nail gun repair kit for Bostitch tools?
-
Where do I find genuine Stanley Bostitch nail gun parts?
-
How to Approach a Slip Ball Valve Installation So It Doesn't Leak
-
What size hole saw for 3/4 PVC?
-
Is overnight parts shipping actually worth the extra cost?
I run a small framing and remodel crew, and I've been relying on Bostitch tools on the job since 2013. I've also documented every mistake that cost us money, mostly so the guys on my crew don't have to repeat them. These are the questions they actually ask — plus the answers I wish someone had given me earlier.
Is the Bostitch F21PL framing nail gun still worth buying?
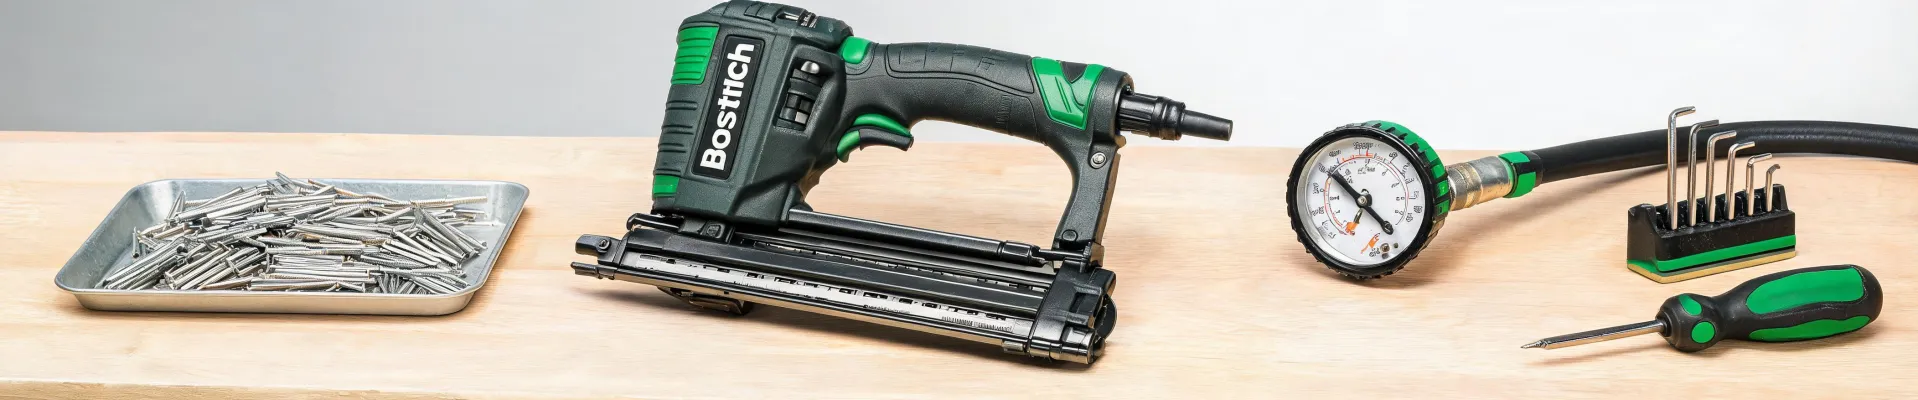
Short answer: yes. It's not the flashiest framing nailer on the shelf, but it's one of the more predictable ones, and on a job site, predictability pays. The F21PL is a 21-degree, full round-head nailer that drives plastic collated nails from 2 to 3-1/2 inches, with shank diameters from .113 to .148 inch. I've had ours for six years, and it's needed exactly one rebuild in that time. The design is old enough that some people call it dated. I stopped caring about that after it powered through a weekend of sheathing without a single hiccup. Bottom line: if you want a framer that acts the same way every morning, this one is a solid pick. Just check the operating pressure first — Bostitch lists it at 70 to 120 psi in the current owner's manual (accessed March 2026).
Will my existing compressor work with the F21PL?
Honestly, the real question is whether your compressor can keep up while you're firing continuously. The F21PL connects with a standard 1/4-inch NPT fitting and runs in that 70 to 120 psi range. If you're coming from a brad nailer or a stapler, the same pancake compressor that ran that trim gun won't run a framer all day. I learned this the slow way: my first attempt had me waiting for the tank to recover more than I was shooting. Most guys focus on the nailer and completely miss the compressor's recovery rate. That's the argument for buying a Bostitch nailer and compressor combo kit — the matching is done for you, and the compressor is sized to keep the tool running. When we switched over, the nailer-won't-sink-anything complaints basically disappeared.
What should be in a nail gun repair kit for Bostitch tools?
In my experience, these tools don't usually stop working all at once. The warning sign is a nailer that gets slower, skips nails, or leaves every nail head proud of the wood. That's generally the rubber bumper or the o-rings in the head valve — not the driver itself. It took me about two years and three field failures to understand that buying the repair kit before you need it is basically insurance. Here's what we keep in the job box now:
- OEM rebuild kit for the F21PL (bumper, o-rings, gaskets, and the little valve parts)
- A spare driver blade once the original has a lot of nails on it
- The factory-recommended o-ring grease — don't substitute whatever is sitting on the workbench
- A printed copy of the official Bostitch parts diagram, in a page protector
The Bostitch parts portal (look for the parts-diagram section on their site, accessed March 2026) shows the entire F21PL exploded view with every Stanley Bostitch nail gun part labeled. Ballpark cost for the OEM rebuild kit has been $30 to $60 depending on the dealer, so verify current pricing. Either way, that's cheaper than a half-day of downtime with three guys standing around waiting on a tool.
Where do I find genuine Stanley Bostitch nail gun parts?
If you search Stanley Bostitch nail gun parts, you'll get everything from official listings to auction results to sellers with one-line descriptions. My rule is simple: start at the source. The official Bostitch parts portal publishes the same diagram your local authorized service center uses, and any authorized dealer can order OEM parts. Most of them stock common rebuild items for the F21PL. The part numbers on that diagram are exact — so don't buy anything that doesn't reference the same number. Price is a red flag too: if a rebuild kit is half of what everyone else charges, ask questions. I've run aftermarket kits in a pinch, and some are honestly fine, but I only risk them on bench time, never on a deadline job. Note to self: every rebuild gets bench-tested before it goes into the trailer.
How to Approach a Slip Ball Valve Installation So It Doesn't Leak
A slip ball valve is the kind you glue directly into a PVC line — no threads, no union. The steps are simple, but the mistakes happen before the cement stage. Cut the pipe square, deburr the end, and wipe it clean. Dry-fit the valve and mark the insertion depth with a pencil, because the pipe seats deeper than you expect. Take it apart, apply the primer to both the pipe end and the inside of the socket, then do the same with solvent cement. Coat both surfaces, not just the pipe. Slide the valve to your mark and give it a quarter turn to work the cement into the joint. Hold it for ten seconds so it doesn't creep back out. Now the part I skipped once: the primer. Every code I've worked under — including IRC Section P3003.7 in the 2021 edition — requires primer and ASTM D2564 solvent cement on PVC pressure joints. Check your local amendments too, because a few areas have tightened this. I used to think primer was optional on a tight fit. Then a valve I installed in 2022 dripped during the pressure test. That cost me an afternoon, a replacement valve, and some credibility with a homeowner. Nobody skips primer twice.
What size hole saw for 3/4 PVC?
This question starts a small debate on our crew every time. The catch is that 3/4-inch PVC isn't 3/4 of an inch on the outside. Per ASTM D1785, 3/4-inch Schedule 40 PVC has an outside diameter of about 1.050 inches. So a 1-inch hole saw won't even start the job. A 1-1/8-inch hole saw barely clears it — roughly 1/32 of an inch of extra room, which works but leaves nothing to play with. I default to a 1-1/4-inch hole saw. It gives you a little over 3/32 of an inch of clearance on each side, which makes it much easier to ream and lets the pipe move a bit with temperature changes. Structurally, a 1-1/4-inch hole in a 2x4 stud is still fine: typical framing rules (IRC Section P2603.2.1) allow drilled holes up to 40% of the stud width, which is about 1.4 inches in a standard 3.5-inch stud. I admit to drilling with a 1-inch bit once and then opening the hole with a rasp for longer than I'd like to mention. The 1-1/4-inch bit lives with the PVC cement in our shop now.
Is overnight parts shipping actually worth the extra cost?
In my book, yes — but only because the math is so one-sided. In March 2024, we were set up to sheath a roof deck on a Monday. My F21PL quit on Sunday afternoon. It was the bumper and an o-ring, which I had on my list but not in stock (note to self: the spare kit is the $50 you don't notice; the emergency run to the supply house is the one you do). The local dealer couldn't get parts until Tuesday. Overnight shipping added about $23. The alternative was four guys standing around sharing one nailer for most of Monday morning. Even a conservative estimate of that lost time came to several hundred dollars. You don't need a spreadsheet to see which one is the no-brainer. What you're paying for in that situation isn't the shipping box — it's certainty. When you've got a hard deadline, 'probably on time' is the most expensive phrase on a job site. I've been burned by 'probably' twice now, and I factor delivery certainty into every parts order since.

Leave a Reply