-
Step 1: Define the job before you compare tools
-
Step 2: Confirm the air system—especially the residual check valve
-
Step 3: Price the whole system, not just the Bostitch nail gun price
-
Step 4: Check battery platform and charger compatibility for impact drivers
-
Step 5: Read electricians tool set 80028 reviews—then check the spec sheet
-
Step 6: Choose an XL tool box by truck layout, not cubic inches
-
Step 7: Verify parts and service support before the first repair
-
Step 8: Run a 30-minute acceptance test
-
Common mistakes to avoid
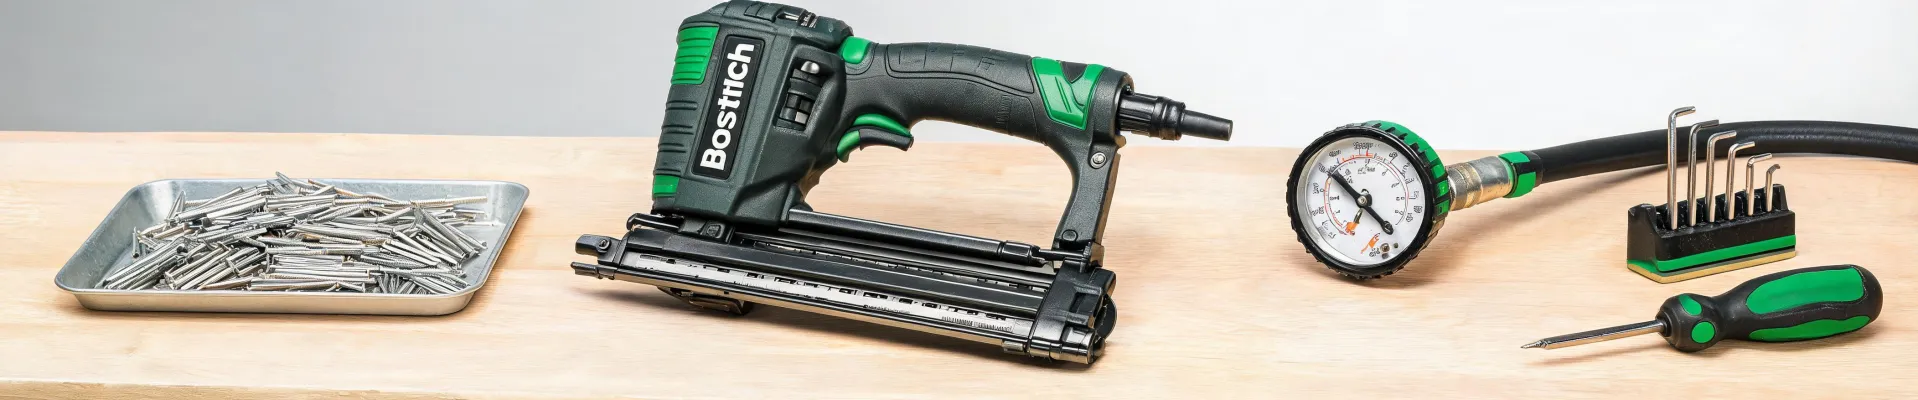
If you buy tools for electrical, maintenance, or framing crews, this checklist is for you. It covers Bostitch nail guns, Bostitch impact drivers, electrician tool sets, XL tool boxes, and air compressor accessories. Eight steps. I use this before any purchase order goes out and before any tool gets assigned to a truck.
I've managed the tool crib for a mid-size electrical contractor for nine years. I've personally made—and documented—22 significant tool-buying and setup mistakes, totaling roughly $7,800 in wasted budget. Now I keep our crew's pre-check list taped inside the crib door.
When I first started buying tools, I assumed the spec sheet was enough. It isn't. Three returned nailers and one very annoyed foreman later, I learned that the tool is only half the system. The compressor, fittings, check valve, batteries, and consumables decide whether it actually works on site.
From the outside, a Bostitch nail gun price looks like the main decision. The reality is that the sticker price is maybe 60% of what you'll spend to put that tool into service (hose, fittings, nails, case, battery, charger, and the part you forgot).
Step 1: Define the job before you compare tools
Write down the actual task: framing, finish, roofing, panel work, or general maintenance. A Bostitch nail gun that's perfect for one job can be wrong for another. If you're doing electrical rough-in, you may need an impact driver for structural screws and a drill/driver for panel work—not the same tool for both.
Ask three questions: What material? What fastener? What duty cycle? If the answer is whatever is on sale, stop. That's how you end up with a tool that sits in the XL tool box until the next inventory audit.
Step 2: Confirm the air system—especially the residual check valve
This is the step most people skip. If you're buying a pneumatic Bostitch nailer, you need to know what's feeding it. Tank size, CFM at 90 PSI, hose length, and fittings all matter.
What is a residual check valve? It's a one-way valve that traps residual air pressure in the tank or line after the compressor shuts off. It stops air from bleeding back through the unloader and protects the pump from restarting under load. In plain terms, it's why your nailer still has a quick burst of air after the compressor cycles off—and why the system doesn't drain itself between shots.
Check the parts diagram for your compressor or nailer. If the residual check valve is missing or stuck, you'll chase misfires, weak drives, and short tank life. I once blamed a nailer for a week of jams. The actual problem was a $14 check valve (note to self: check the cheap parts first).
Step 3: Price the whole system, not just the Bostitch nail gun price
A Bostitch nail gun price might look fine on its own. Then you add the hose, quick couplers, fittings, lubricant, fasteners, safety glasses, and a case. I compared a $229 nailer to a $279 kit in Q1 2023 and picked the cheaper gun. By the time I bought the missing hose and fittings, it cost $317—and the kit had a better warranty.
Use a simple formula: tool price + battery/charger + consumables + accessories + expected parts for year one. That's your real number. If you can't justify the total, don't buy the tool.
Step 4: Check battery platform and charger compatibility for impact drivers
If you're adding a Bostitch impact driver, don't assume your existing batteries fit. Battery platforms change. Chargers change. A great bare tool is a bad deal if it forces you into a new battery ecosystem.
Also match torque to the job. An impact driver that drives 3-inch structural screws is overkill for delicate electrical terminals. I've seen an apprentice strip a terminal screw because the impact driver had two speed settings and he only used one. (He knows now. I know now. We label the tools.)
Step 5: Read electricians tool set 80028 reviews—then check the spec sheet
Electricians tool set 80028 reviews can tell you about handle comfort, pouch layout, and whether the zipper fails after six months. They won't tell you if the set meets your safety policy.
Per FTC guidelines (ftc.gov), reviews and testimonials need to be truthful and not misleading—but that doesn't mean every review covers your use case. Check the insulation rating, the included pliers, the warranty, and whether the set has the tools your electricians actually carry. A 40-piece set with 12 pieces you'll never use is not a bargain. It's clutter in a bag.
Step 6: Choose an XL tool box by truck layout, not cubic inches
An XL tool box sounds like more storage. Sometimes it's just more weight. Measure your truck bed, bed rails, and tailgate clearance before you order. Check the latch, weather seal, lock, and mounting hardware. Then think about loaded weight. A box that's fine empty can bend bed rails when it's full of Bostitch nailers, batteries, and hand tools.
I once ordered a 60-gallon XL tool box for a service truck. It fit the bed. It didn't fit under the tonneau cover. That mistake cost us a 3-day delay and a restocking fee (ugh).
Step 7: Verify parts and service support before the first repair
Before you buy any Bostitch tool, look up the parts diagram. Can you find the residual check valve, o-rings, bumpers, driver blades, and triggers? If the answer is no, you're buying disposable tools.
Strong repair and parts support is a real advantage. A $12 part and 20 minutes of labor beats a $300 replacement. Build a small spares kit: common o-rings, a check valve, a bumper, and the right lubricant. Label it. Keep it in the crib, not in the truck where it disappears.
Step 8: Run a 30-minute acceptance test
When the tool arrives, don't just sign the packing slip. Test it.
For pneumatic tools: set the regulator to the manufacturer's spec, cycle the tool 20–30 times, listen for leaks, check the residual check valve function, and inspect the driver blade. For cordless tools: charge the battery, run it under load, check the trigger and chuck, and confirm the charger works. For an XL tool box: load it, latch it, lock it, and roll it across a curb.
Record the serial number and date. If it fails, return it before the return window closes. I've eaten $600 in late returns because I trusted an it'll be fine from the shop (I really should stop doing that).
Common mistakes to avoid
Buying on sticker price alone. Ignoring compressor duty cycle. Mixing pneumatic and cordless tools without a plan. Trusting electricians tool set 80028 reviews as a full spec. Overloading an XL tool box. Skipping the residual check valve check. Using an impact driver on delicate fasteners.
And one more: pretending you're an expert in everything. I'm not an electrician, a compressor engineer, or a safety inspector. I handle tool crib logistics. For electrical safety, ask your licensed electrician and safety manager. For compressor sizing, ask a compressed-air specialist. A vendor who says this isn't our strength—here's who does it better earns my trust for everything else. I'd rather work with a specialist who knows their limits than a generalist who overpromises.
Checklist: job defined, air system confirmed, total cost calculated, battery platform checked, safety specs verified, box measured, parts available, acceptance test passed. In that order.

Leave a Reply