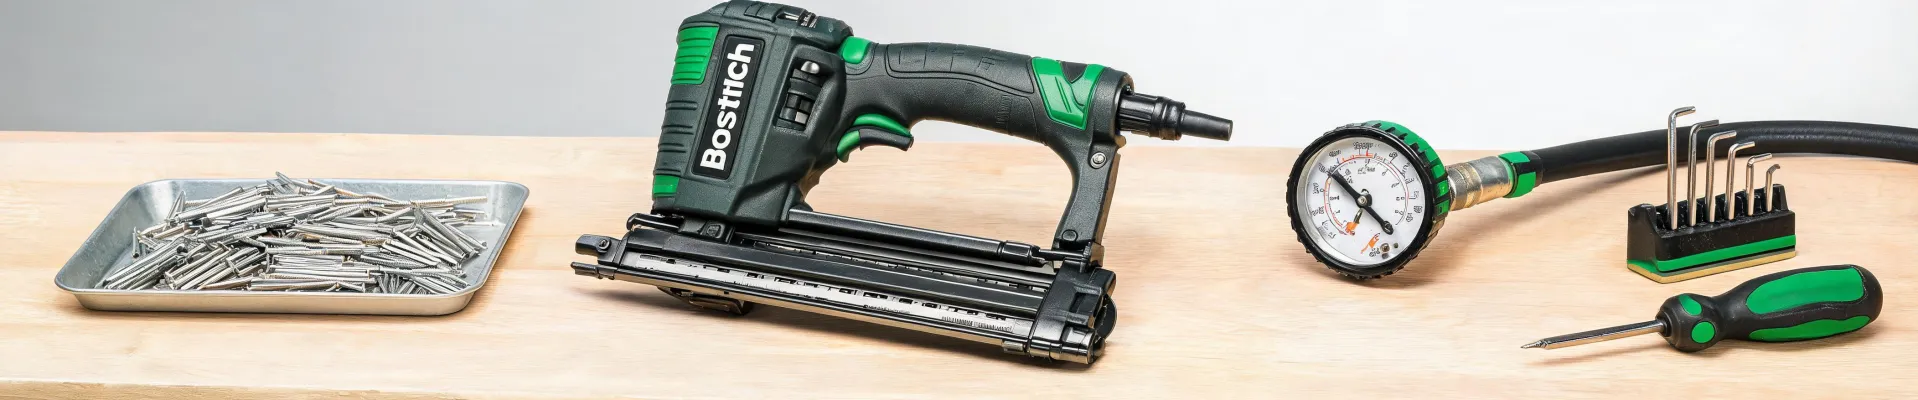
Three years ago, my Bostitch pneumatic staple gun started acting up. Not a full breakdown—just a sputter. Every third or fourth staple would seat halfway, then the driver blade would push it the rest of the way with a weak, tired sound. On trim work, that leaves a dented piece of wood. Hard to explain to a client.
I did what most people do. I tore the tool down. Cleaned the magazine, lubed the o-rings, replaced the driver blade. Even bought a rebuild kit—$40 in parts and a Saturday afternoon. Still sputtered.
Then my Bostitch 121 air hammer started losing its punch. Same story. It would cycle, hesitate, then hit like it was running on half pressure.
Two tools, same problem, same week. So I did what anyone would do: I blamed the tools. Both of them. That was mistake number one.
I'd been running Bostitch tools for years at that point, and I trusted them. That's what made it worse—I couldn't accept that the tools I relied on were failing. So I sent them to the shop anyway.
It Wasn't the Tools. It Was the Air.
Here's what took me years to understand: a pneumatic tool can be in perfect mechanical shape and still fail on the job if it isn't getting enough clean, dry air.
Everything I'd read about tool maintenance said to keep the tools clean, oiled, and stored properly. In practice, I found the exact opposite was true in my shop: the tools I babied were failing because the compressor upstream was delivering exactly what they didn't need—wet air and unstable pressure.
My first suspect was the staple gun itself. I took it to a repair shop, and $180 later the tech handed it back with a suspicious look. "This wasn't the problem. Feed it dryer air." The word "dryer" stuck in my head for weeks before I understood what he meant.
"The tool isn't the problem," he said. "It's the last thing in the air line. Check what's feeding it first."
Took me two more weeks to connect the dots. I want to say I figured it out right away, but don't quote me on that.
Where Does the Sump Pump Drain To? I Asked Too Late.
The question "where does the sump pump drain to" sounds logical. My first response: my Bostitch air compressor doesn't have a sump pump.
Technically, it doesn't. The "sump" is just the low point inside the receiver tank—the bottom of the steel drum where water settles. And the "pump" is actually a manual drain valve. No pump involved.
The answer to the question is simple: the drain is a valve on the bottom of the tank, and the water drains out through it, into whatever you put underneath. A catch pan. A bucket. A floor drain. In my case, a dirty garage floor.
What I missed for two years is the more important part: you have to open that valve on purpose. I didn't. Not once.
Here's what happens when you don't. Every time a compressor runs, it draws in humid air, pressurizes it, and the moisture condenses inside the tank. That water collects at the bottom—the sump—and then gets picked up by the air flow and pushed through the discharge line, through your hose, and straight into your tools. (This was back in 2021, before condensate management was in my vocabulary. Mental note: I still forget this is a thing until I see the mist.)
A pneumatic staple gun running on wet air isn't being lubricated—it's being washed. The moisture strips the oil film off the internal parts, rusts the springs, and carries grit into the cylinder. Same story for the 121 air hammer.
That's also why the inside of the tank rusts, by the way. The water sits against the steel and does exactly what water does to steel. Even if you never run a tool, the tank itself pays the price for a forgotten drain.
The tools didn't break from heavy use. They broke from swimming.
The Lift Check Valve: A $30 Part I Didn't Know Existed
The water was half the story. The other half was pressure loss—and that's where the lift check valve comes in.
A lift check valve is a one-way valve between the compressor pump and the tank. It does exactly one job: it lets compressed air flow from the pump into the tank, then closes to keep that air from bleeding back when the pump cycles off.
When the check valve leaks, the tank pressure bleeds backward into the pump. The compressor has to run longer and harder every cycle. The pressure gauge drops between cycles. And the tools downstream feel the difference as a weak, wandering stream of air.
It's tempting to think a failing air tool means the tool is worn out. But in my case—and I'd bet for a lot of other people—the compressor was the root cause. The tool was just the messenger.
On my Bostitch compressor, the check valve sat exactly where you'd expect: where the discharge tube enters the tank, under a small metal cover plate. I found the part online for $28—maybe $30 with shipping, I'd have to check—and swapped it out in about 20 minutes. The cover took longer to remove than the valve itself.
One thing worth knowing: a bad check valve has a tell. As the compressor cycles, you can feel a faint puff of air escaping around the valve cover. Or you'll hear a soft hiss when the pump stops. There's a good chance I'd have caught it a year earlier if I'd ever actually looked at the compressor instead of just hoping it worked.
After I replaced it, the compressor cycled less often. The pressure gauge held steady between cycles. And the tools stopped sputtering.
What That Cost Me (Total Cost of Ownership, the Hard Way)
Let me add it up honestly.
- Staple gun rebuild: $180
- 121 air hammer service: $95
- Lift check valve (the actual fix): ~$30
- Lost time and a weekend of diagnosis: priceless in the worst way
$305 on repairs for tools that were never broken—plus $30 for the real fix. If I'd known to check the compressor side, I'd have kept $275 of that money and both tools would be running fine today.
It took me three years and two ruined tools to understand that the purchase price of a tool is only the beginning. The real cost is in how you feed it. A $30 valve doesn't show up as a monthly line item, but neither does a $180 rebuild until it's on your invoice.
I don't have hard data on how many compressors have leaky check valves. Based on the repair shop's regulars, my sense is it's more common than the parts counters would suggest.
The Fix: 15 Minutes a Month
Here's the routine I now follow on my Bostitch air compressor. It's short, and it's the most important maintenance I do.
- Drain the sump. Put a few PSI in the tank, open the drain valve at the bottom, and let the water blow out. Do it at least monthly—more if your shop is humid.
- Watch the pressure gauge. If the compressor cycles on more often than it used to, or the gauge drops once the pump stops, suspect the lift check valve. It's cheap and easy to replace.
- Check the air at the tool. Pull the trigger on your Bostitch pneumatic staple gun and watch the exhaust ports. If you see mist, your air isn't dry. Fix the source, not the tool.
That's the entire list. A drain valve, a pressure gauge, and a $30 part when something feels off. It would have saved me $275, two Saturday afternoons, and the kind of embarrassment you don't want in front of a client.
Not a bad trade. But I had to learn it the expensive way first.

Leave a Reply