-
Step 1: Write down the fastening work before you price any tool
-
Step 2: Price the system, not the tool
-
Step 3: Verify the parts situation before you order
-
Step 4: Budget for the things nobody puts on the list
-
Step 5: Set up the maintenance plan before the tools arrive
-
Step 6: Run the three-year math, not the sticker price
-
Some mistakes I hope you don't repeat
Back in Q2 2024, I signed off on a $14,200 tool order for our finishing crew—new Bostitch nailers, a replacement compressor, hoses, and a few cases of fasteners. Six weeks later, I found out what that order actually cost us: a blown fitting that shut down one site for half a day, a stolen tool that nobody could trace because we didn't have storage on the truck, and $86 in expedited shipping for a tiny part I should have stocked in the shop.
That order was the reason I built the checklist below. I'm the procurement manager at a 42-person commercial finishing company, I've managed our tool and equipment budget—about $120,000 a year—for 7 years, and I've tracked every invoice in our cost system. When I audit our spending, I see the same mistakes over and over: tools bought without their systems, repair parts ignored until it's too late, and the small stuff (storage, hand tools, fittings) missing entirely from the budget.
This checklist is for anyone who buys or approves fastening tools for a crew—whether that's two guys doing trim or fifty people on production. There are 6 steps, and each one has a checkpoint so you know exactly when you've done it right.
Step 1: Write down the fastening work before you price any tool
I get it, this sounds obvious. But most buyers start with the tool and go looking for a job it can do. That's backwards.
The fastening schedule dictates the tool, not the other way around. For our crew, the three most common jobs are interior trim, cabinet assemblies, and crate/pallet work for shipping. That mix is why we run finish nailers, a pneumatic Bostitch stapler for crating, and a couple of cordless options for punch work. A framing crew would have a completely different list.
Checkpoint: name your crew's three most frequent fastening jobs. If you can't, you're not ready to buy anything.
Step 2: Price the system, not the tool
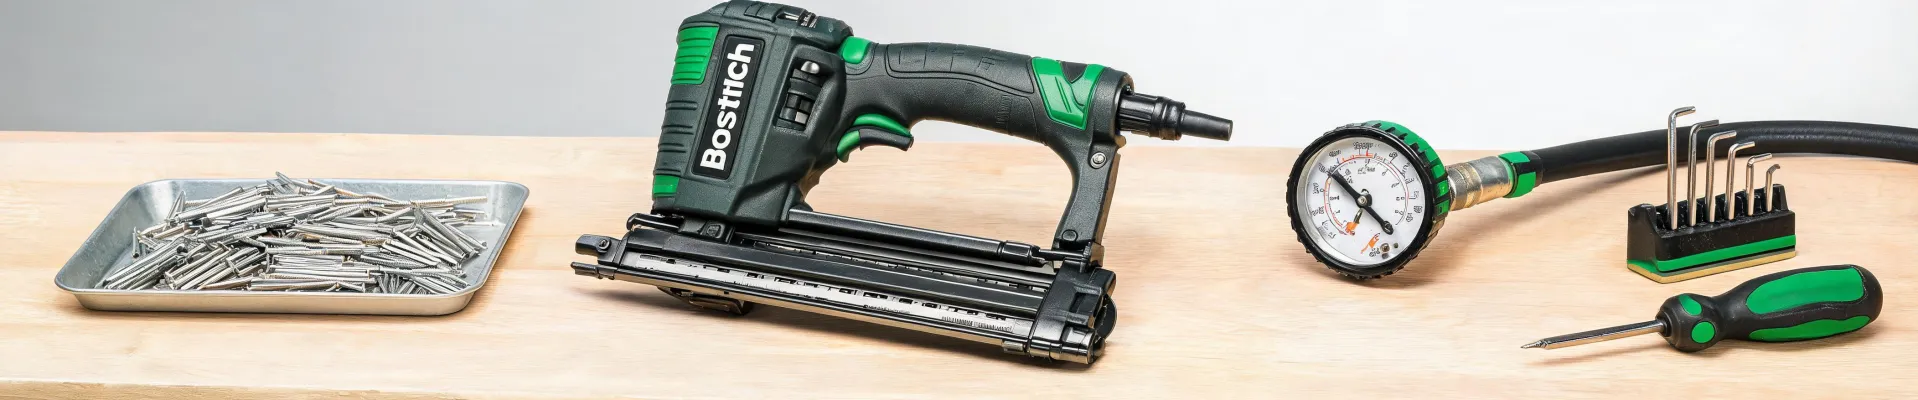
Here's where the real budget killers hide. I've watched it happen more times than I can count: someone finds a genuinely good deal on a Bostitch nail gun SB-1850BN (that's the 2-in-1 finish nailer/stapler combo) and then realizes they need a compressor, hose, fittings, and oil to run it. The bargain just turned into a $700–$1,100 system.
When I build a quote comparison, I price everything as one package:
- Finish nailer/stapler (like the SB-1850BN): $180–$280
- Air compressor with enough CFM for continuous fastening: $300–$700
- 50-foot air hose plus fittings and couplers: $40–$80
- Pneumatic tool oil, spare O-rings, and a back-up rebuild kit: $30–$50
And that doesn't include the storage and crew accessories I'll cover in Step 4.
Checkpoint: are you comparing complete systems, or just tool prices? If your spreadsheet only has the nailer, you're looking at maybe half the real cost.
Step 3: Verify the parts situation before you order
What most people don't realize is that a tool's true cost shows up in year two or three—or in week four if you bought something fragile. The cheapest nailer in the world becomes the most expensive one if you can't get a magazine spring when you need it.
Before I place any order, I check parts availability. Bostitch publishes repair parts and exploded diagrams for its tools, which is something I've learned to appreciate after dealing with brands that treat every repair as a trip to an authorized service center. For the SB-1850BN specifically, I keep a rebuild kit and a spare magazine spring in stock. For the stapler side of our inventory, it's the same story: O-rings and driver blades are cheap, and they're the things that wear out.
That might sound like over-planning. But when a tool goes down on site, the crew doesn't stop getting paid—the project still accrues overhead. We ran the numbers once: one idle day at our labor rates wipes out the entire 'savings' from buying a cheaper tool, twice over.
Checkpoint: search 'SB-1850BN parts list' or 'SB-1850BN rebuild kit' before you commit. If parts are hard to find, that's a cost you need to account for.
Step 4: Budget for the things nobody puts on the list
This is the step I never see in other companies' budgets. When I audit our own spending, at least one of these three categories is always missing in year one:
Multi-tool pliers. Your crew won't just shoot nails all day. They'll snip a wire, tighten a fitting, pull a stubborn staple, strip a cable. A decent multi-tool pliers that actually stands up to a job site—not the $8 folding novelty—saves trips back to the truck all day long. I buy one for every new hire. It's a $25–$60 line item that pays for itself in the first week.
Lockable storage. We absorbed more theft and weather damage than I'd like to admit before we put a truck bed tool box on every site truck. A crossbed box isn't an accessory—it's theft prevention, tool protection, and basic accountability. If your crew works out of pickups, this belongs on the same purchase order as the nailers, not added later.
Hose clamps, fittings, and small parts. Nobody budgets for them until a fitting blows at 6 AM. I keep a drawer of clamps, couplers, and spare O-rings, and it's saved us more than once. And since it comes up every time I mention this: what size hose clamp for garden hose? For a standard 5/8-inch garden hose, you'd want a clamp sized for 3/4- to 1-inch hose—a #12 or 1-inch band clamp usually does it.
But if you're connecting a garden hose to an air tool setup, stop. Garden hose is not rated for compressed air, and a blowout at 100 PSI isn't something you shrug off. That's not me being precious—it's an experience I don't want to repeat. Buy rated air hose. It's a few dollars more per foot.
Checkpoint: does your budget have lines for these three categories? If not, that's the first thing to add.
(Note to self: I still owe the new site manager a small-parts stock list. Add it to the onboarding binder before the next hiring wave.)
Step 5: Set up the maintenance plan before the tools arrive
The conventional wisdom is that pro-grade tools just work. My experience with 200+ orders and six years of maintenance records says otherwise. Pneumatic tools need daily oiling. Compressors need oil checks and tank draining. O-rings wear out, filters clog, and couplers get brittle.
How we fixed this: a single laminated sheet mounted next to the compressor station. It lists every pneumatic tool we own, the maintenance task, the interval, and a box for initials. It isn't glamorous, but that one page cut our pneumatic tool failures by about 40% in the first year. I didn't believe it until I audited the repair invoices.
Checkpoint: ask your crew lead where the maintenance log is. If you get a blank stare, build the system before the tools even ship.
Step 6: Run the three-year math, not the sticker price
I'll be the first to tell you I'm not a tool engineer. I do not design fastening schedules, and I don't pretend to know every spec off the top of my head. When a question goes beyond my cost model—fastener selection for a specific engineered beam, say—I hand it to the crew lead or the tool rep. Knowing who to defer to is part of my job.
But the cost math is mine, and it's simple: what does this tool really cost over three years, including repairs, downtime, and support?
Here's a real example. I compared two vendor quotes for a similar setup. Vendor A quoted a Bostitch system at $1,100. Vendor B quoted $980 for a different brand. Looks like B saves me $120, right? But Vendor B had a three-week turnaround on service and limited spare parts support.
One service event—one—would wipe out that $120. Two events, and B was the more expensive buy despite the lower sticker.
I put every tool purchase on a simple spreadsheet: purchase price, expected maintenance, spare parts, and estimated downtime at our labor rates. The math isn't complicated. It's just honest.
Some mistakes I hope you don't repeat
If I were starting this job over, I'd make three changes:
- Buy the truck bed tool box on day one, not at the end of year two after the first theft.
- Stock repair parts at the same time I place the tool order, not after the first breakdown.
- Never compare a nailer without pricing its compressor and hose. The tool is only half the system.
And the last thing I'd tell my younger self: 'premium' doesn't always mean 'right for your crew.' For our workload, Bostitch's professional line has out-worked tools that cost more in some categories—not because of any magic, but because we can get parts, the maintenance is straightforward, and the tools are built for daily pneumatic use instead of occasional weekend projects.
The best tool is the one you can keep running. That's the whole checklist, really.

Leave a Reply