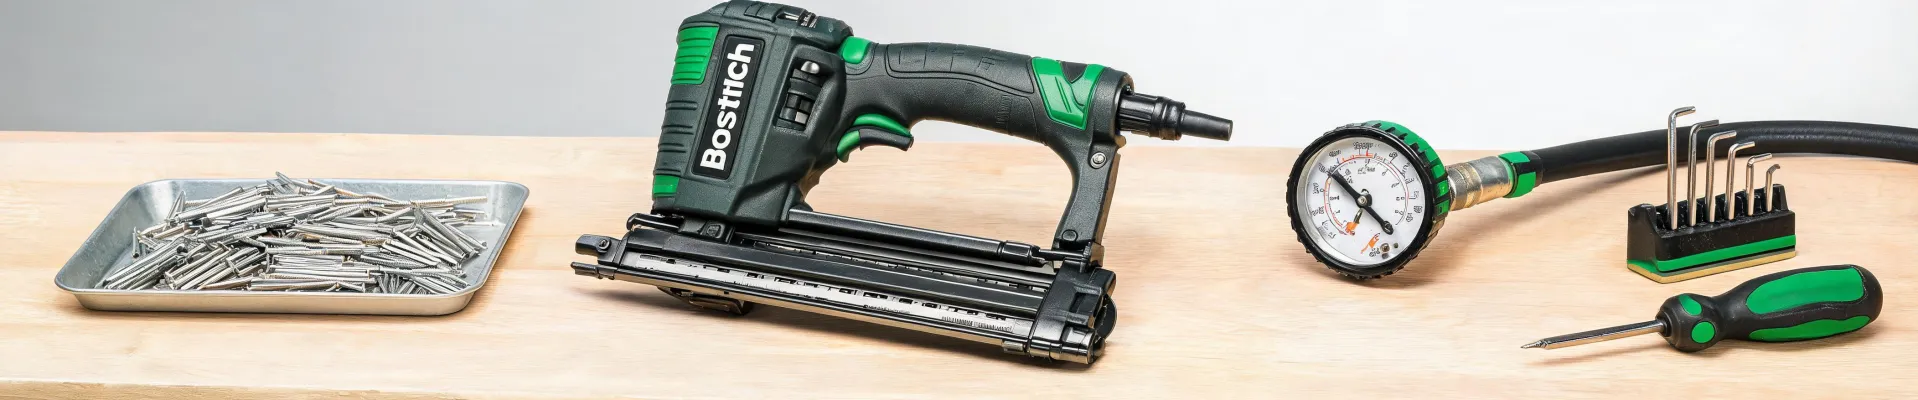
There's no single answer to the question: should I fix my Bostitch pancake air compressor parts or buy a new unit? It depends on how old the compressor is, what actually failed, how the unit is used, and how much downtime you can absorb. The tool that's worth repairing on a Monday may be worth replacing by Friday if the workload changes.
I'm a procurement manager at a 40-person general contractor company. I've managed our tool-equipment budget for seven years and approved every compressor repair invoice since 2019. It took me about 150 repair invoices to understand that the cheapest option on paper isn't always the cheapest option on the job. What I mean is that the price of a part is only one line in the cost equation. Your time, your crew's time, and the chance of the same failure returning are all real costs.
This article is not a vague it depends answer. It's a decision tree. You'll find your scenario, follow the advice, and know when to spend money, when to save it, and when to walk away.
The Decision Tree: Which Bostitch Air Compressor Situation Are You In?
Before you buy any replacement part, answer three questions. Does the tank hold pressure? Is the unit still under warranty? Do you need more air capacity than this compressor can provide? These three questions split most repair decisions into four scenarios.
Scenario A: The Failure Is Known and the Tank Still Holds Pressure
If the compressor runs, builds pressure, and then cycles off normally, but you notice air leaking around the pressure switch or check valve, the problem is often a check valve, regulator, or unloader valve. These are common Bostitch pancake air compressor parts. On a Bostitch 6-gallon 150 psi model, a leaking check valve can cause short cycling, or it can make the compressor run continuously when the tank is already full.
According to Bostitch's published parts diagrams, the check valve and pressure switch are separate line items. That is why a compression spring 2 pack won't fix a failing pressure switch. Order the right subassembly, not just the cheapest part that looks close. The official parts diagram will show you exactly which spring and seal belongs to your model.
For a small failure like a worn check valve, the repair can cost around $30 to $60 in parts and take less than an hour. That's a good deal if the compressor is otherwise healthy. But diagnose first. The most frustrating part of compressor repair is the same symptom from two different failures: a tank that won't hold pressure can be a tired check valve or a cracked tank. You'd think replacing the small part would fix it, but if the tank itself is leaking, you are just delaying the replacement.
Look, I'm not saying generic parts are always bad. I'm saying they're riskier. Match the part number to your serial plate, order the genuine part, and keep the receipt. I've paid for a new compressor when the original problem was an $8 spring. Actually, it was closer to $12 with shipping. My point: diagnose before you buy.
Scenario B: The Tank Is Damaged or the Compressor Is Worn Out
If you see rust on the bottom of the tank, feel moisture on the welds, or hear rattling from loose debris inside the tank, stop repairing. A tank failure is not a maintenance event; it's a safety event. The cost of a new air compressor 6 gallon 150 psi model is much smaller than the liability of a tank that lets go on a job site.
I went back and forth between repairing a 10-year-old Stanley Bostitch air compressor and replacing it for two weeks. Repair would have been $90. Replacement was $250. The old unit had already stalled twice during a production day, though, and the cost of job-site downtime was more than the difference. I replaced it. Sometimes the cheap repair is the expensive one because it doesn't reset the failure clock.
For trim crews and brad nailers, an air compressor 6 gallon 150 psi replacement is a practical option. It's not the biggest compressor, but it's big enough for one brad nailer or stapler at a time. If the old compressor has served you for years, replacing it with the same form factor makes sense.
Scenario C: The Compressor Is Still Under Warranty
If you bought your Stanley Bostitch air compressor within the last year, check the warranty before opening your wallet. During one tight deadline, I had a compressor fail a month after purchase. I had 24 hours to decide whether to repair it or file a warranty claim. Normally I'd compare three options, but there was no time. I went with the warranty route because the part was free and the labor was covered by the dealer.
This is where good paperwork pays for itself. Keep the original receipt, note the serial number, and register the unit if the manufacturer offers it. A Bostitch compression spring 2 pack is a low-cost item, but free is still lower than the price of the same repair covered under warranty.
Scenario D: You've Outgrown the Pancake Compressor
If the crew is moving beyond trim nailers, the decision is not a repair question. A 6 gallon 150 psi pancake compressor is a convenience tool for brad nailers, staplers, and occasional inflation. It is not a high-volume air supply for sanders, impact wrenches, or multiple tools running at once. If air demand is the actual problem, replacing the compressor with a larger cycle model is the fix. Repairing a pancake compressor won't create more CFM.
Before you spend money, add up the CFM requirements of the tools you run at the same time. Then compare that number to the compressor's output at 90 psi. If the number is higher than the compressor's rating, a new compressor—not a new check valve—is the answer.
Wait, Were You Actually Looking for Centrifugal Pump Flow Rate?
If you landed here because you searched how to calculate flow rate of centrifugal pump, let me give you the short version. The theoretical flow rate is Q = A x v, where Q is the volumetric flow rate, A is the cross-sectional area of the pipe, and v is the average flow velocity. For a circular pipe, A = π(D/2)^2. If you are working in feet, multiply the result by 7.48 to convert cubic feet per second to gallons per second.
But the practical flow rate of a centrifugal pump is not a fixed number. It is the point where the pump curve meets your system curve. Pipe friction, fittings, and discharge head all move that operating point. The reliable way to get a real number is to use a flow meter or read the manufacturer's published pump curve.
That's a different world from compressor sizing. If you're choosing a Bostitch air compressor, look at the CFM at the pressure you actually use. An air compressor 6 gallon 150 psi model is fine for small tools, but it won't produce the same kind of continuous flow as a centrifugal pump. Different flow, different math.
How to Judge Which Scenario You're In
Here's a simple checklist I use before approving any compressor repair or replacement.
- Run a pressure test. Fill the tank to 150 psi and let it sit for 15 minutes. If it drops more than 10 psi, find the leak with soapy water. A leak at the check valve means a small part. A leak at the bottom of a rusty tank means replacement.
- Check the service history. If this is the third repair in two years, the next repair is not an investment. It's a delay. The real cost of a repair includes the chance you will be back in the same repair cycle before the maintenance budget resets.
- Check the warranty status. Call Bostitch support or check the serial number before ordering parts. Warranty coverage changes the math completely.
- Ask if you need more capacity. If your crew needs more air than a 6 gallon 150 psi compressor can supply, don't confuse a parts problem with a sizing problem.
One more thing for the one-person shops: don't let a small parts order make you feel small. When I was starting out, the vendors who took my $200 order seriously are the ones I still call for $20,000 orders. A good parts counter will order a compression spring 2 pack without trying to upsell you to a new compressor. Small doesn't mean unimportant. It means potential.
The right move depends on your actual usage, your warranty status, and your tolerance for downtime. Answer the four questions above, and the right Bostitch path usually becomes clear.

Leave a Reply