-
Do You Need a Nail Gun to Install Trim? Here's My Honest Answer
-
The 7-Point Checklist I Run Before Every Trim Install
-
1. Read the trim before you pick the gun
-
2. Match the gauge to the trim, not to the hype
-
3. Check what's behind the wall before you start
-
4. Choose nails like they're part of the tool
-
5. Choose pneumatic or cordless based on the jobsite
-
6. If you go pneumatic, verify the compressor first
-
7. Test-fire into the same material before the first real piece
-
1. Read the trim before you pick the gun
-
What's a Stapler Doing in My Trim Bag?
-
The Mistakes This Checklist Prevents
Do You Need a Nail Gun to Install Trim? Here's My Honest Answer
If you're putting in more than a few trim pieces, yes — you almost certainly want a nail gun. You can install baseboard or casing with a hammer and finish nails, but a nail gun seats every fastener to the same depth. That consistency is what separates clean trim work from trim that looks dented and patched.
The question “do you need a nail gun” isn't the useful one. The useful question is which nail gun and which fasteners. I learned that the expensive way.
I've been doing trim and finish work since 2017. In 2022, I installed prefinished maple casing with a 15-gauge nailer. Looked fine for about an hour. Then the painter asked how I wanted the nail holes handled, and I realized there was no good answer. Fifteen-gauge holes in prefinished maple can't be touched up. The material cost about $1,100 to replace, and the redo ate a full weekend. That was my third fastener-related mistake in 18 months, so I wrote the checklist below and taped it inside my toolbox. Five minutes of checking has saved me a lot more than five days since.
The 7-Point Checklist I Run Before Every Trim Install
1. Read the trim before you pick the gun
Go through the actual material, not the work order. A single room can have paint-grade MDF casing, prefinished maple base, PVC, and a solid oak shelf edge all in the same job. Each one behaves differently. MDF accepts a brad without splitting, prefinished wood shows every misplaced nail, and PVC expands enough to pull a short fastener loose over time. You can't choose a nail gun until you know what's going on the wall.
2. Match the gauge to the trim, not to the hype
For interior trim, the decision is usually between an 18-gauge brad nailer and a 15-gauge finish nailer. Brads leave smaller holes and work on thinner stock, but the nail is thin. It won't pull a warped board tight, and it has less holding power in dense hardwood. A 15-gauge finish nail is noticeably thicker. It grabs better and will draw a board into place, but it leaves a hole that needs filling.
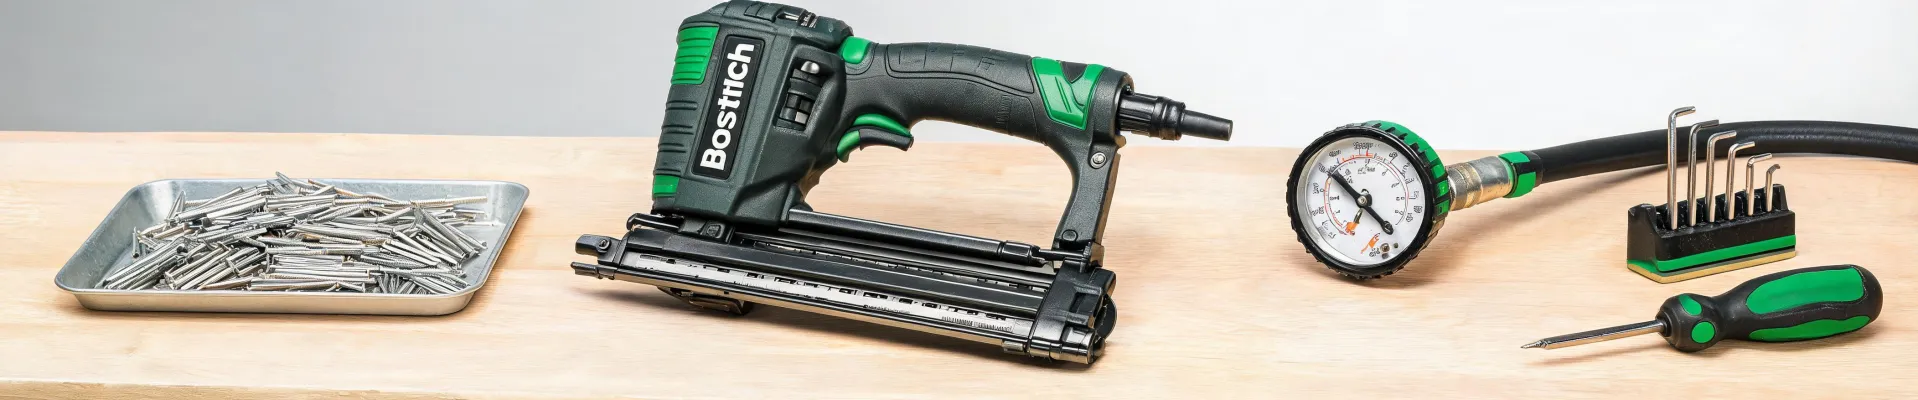
My rule: use a Bostitch 15-gauge nail gun for baseboard 3/4 in. and thicker, heavy door casing, solid hardwood, and crown molding heavy enough to need real holding while the adhesive cures. Use an 18-gauge brad nailer for lighter casing, small profiles, and paint-grade material. If the trim is prefinished or veneered, step down to a 23-gauge pin nailer with construction adhesive — or avoid face fasteners altogether.
3. Check what's behind the wall before you start
A nail gun only works if the nail ends up in something solid. Drywall does not hold baseboard. A brad driven only into drywall feels fine on install day, but seasonal movement loosens it, and by month three the trim has a gap you can push with one finger. Mark the studs first. In older homes, watch for furring, plaster, and hollow spots; where there's no backing, run a bead of adhesive or install blocking before you nail.
At door jambs, the math is different. You're not trying to reach a stud; you're trying to stop before the nail blows out the back of the jamb. Hold the casing in place and sight the length before you pull the trigger.
4. Choose nails like they're part of the tool
Not all 15-gauge finish nails fit every 15-gauge nail gun. Collation angle, head style, and coating all matter. I once sent an apprentice to grab a box of finish nails, and he came back with the right gauge and the wrong collation. None fed. That cost us a trip and a wasted morning.
Match the nail length to what you're fastening: long enough to reach at least an inch into solid framing, but short enough to avoid blowing out the back side of a jamb or thin trim. In new construction, use coated fasteners. Around moisture, use stainless. This isn't the place to save 30 cents a box.
5. Choose pneumatic or cordless based on the jobsite
Both are legitimate. Here's the conversation I have in my own head before every job:
Pneumatic wins when I'm working in an empty room, new construction, or a shop. The hose is mildly annoying, but the tool is light, the power is consistent, and I never have to ask whether the battery is charged. A cordless nail gun wins in an occupied home, on a ladder, or on punch list work where dragging a compressor and hose through a finished kitchen creates more risk than it solves.
If you only own one and you do remodels in occupied homes, buy the cordless nail gun first. If you're setting up a workshop or doing new construction, buy pneumatic first. If you stay in this trade long enough, you'll own both.
6. If you go pneumatic, verify the compressor first
Every pneumatic nailer lists its air consumption in the manual, usually in SCFM at 90 PSI. The compressor needs to supply that at the regulator, not just at the tank outlet. If the compressor can't keep up, pressure drops as you work, and nails start seating shallow by the end of a long run.
This is also where a matched set makes sense. If you're starting from an empty trailer, a packaged compressor-and-nailer combination removes most of the guesswork. And when people ask about the Bostitch Tool Set 232, my answer is the same as for any kit: read the contents and compare them with the work you actually do. A bargain set isn't a bargain if it doesn't cover the tasks your jobs require.
7. Test-fire into the same material before the first real piece
Once the gun, nails, and air supply are sorted, test-fire into the same material you're about to install — ideally the cutoffs from that exact batch. A nail set too deep in MDF makes a crater. A nail left proud in hardwood means a hammer mark when you try to set it later.
Adjust the depth for the material, not for the job. Prefinished walnut needs a different depth setting than primed pine.
What's a Stapler Doing in My Trim Bag?
A lot of people assume trim work is nails only. It isn't.
The Bostitch pneumatic upholstery stapler 21671B lives in my kit and gets used more than its name suggests. It's sold as an upholstery tool, but it earns its space on finish jobs: attaching thin plywood backs, dust panels, toe kicks, and fabric-wrapped inserts on built-in benches or headboards. In those spots, a brad nail concentrates pull at one point, while the staple's two thin legs spread the load across a wider footprint and hold thin stock more predictably.
If you're building upholstered panels — or re-covering a banquette that sits above your trim — the 21671B is the right fastening method. That's the thing about fastening tools: use the one that matches the material, not the one that's easiest to grab.
The Mistakes This Checklist Prevents
Since I started running this list, the callbacks have basically stopped. The three biggest failures I've seen — and all three were preventable:
- Face-nailing prefinished trim with a 15-gauge nail gun. Use a pin nailer or plan the fastening so holes stay hidden.
- Nailing into drywall instead of framing. The trim feels solid for a week, then moves.
- Never testing the setup. Adjust the depth and pressure on scrap before you touch the first piece of good material.
If you remember nothing else, remember this: nail guns are not interchangeable, batteries and air supply count as much as the gun, and a 5-minute checklist is still the cheapest insurance on any trim job.

Leave a Reply